How to Disassemble a Peloton Bike for Moving: A Beginner's Guide
Moving a Peloton bike requires careful planning and the right approach to avoid damage. This guide walks you through each step of taking apart your bike safely. A
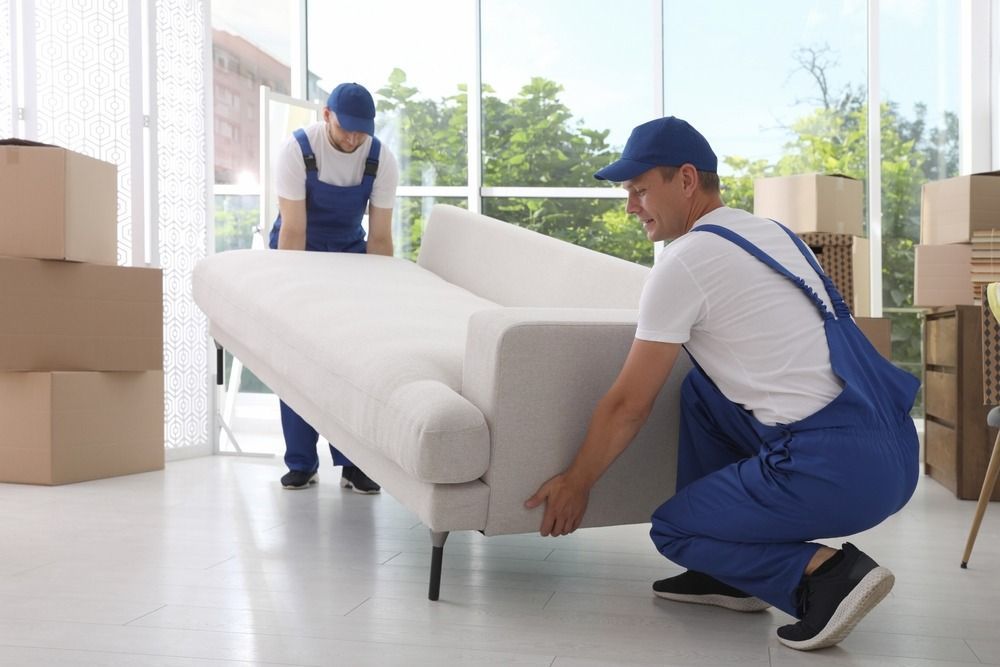
reliable moving team
can help, but you can also do this yourself with basic tools and patience. We'll cover the necessary tools, how to remove each part, and provide tips for packing everything securely.
Tools and Supplies Needed
You'll need several basic tools to take apart your Peloton bike properly. Get a screwdriver, Allen wrenches, and pliers before you start. Having some lubricant on hand helps loosen stubborn parts. Start by locating and removing the screws that secure the bike's outer casing. Use your screwdriver to carefully loosen these screws without forcing them. Please take off the pedals next, making sure you have a good grip so they don't slip. Use Allen wrenches to remove parts like the seat, handlebars, and stabilizer bars. Apply lubricant when parts feel stuck to make removal easier. Use pliers to disconnect cables and wires safely, ensuring they are not damaged.
Removing the Screen and Handlebars
The screen and handlebars are the most delicate parts to remove, so take your time with these steps. Look for screws under the handlebar area and use the right tool to loosen them. Lift the screen carefully and unplug any cables by pressing the small release tabs located on the back of the device. Avoid pulling too hard on the screen, as it can crack easily. For the handlebars, find the bolts that connect them to the bike frame and unscrew them completely. Keep a firm grip on the handlebars while removing bolts so they don't fall. Once the bolts are out, lift the handlebars straight up and away from the bike. Be cautious of any wires that may get caught during removal.
Detaching the Seat and Pedals
Removing the seat and pedals is straightforward once you know the right technique. Find the adjustment knob under the seat and turn it to the left until the seat comes loose. Pull the seat straight up and set it aside in a safe place. For the pedals, check which one is marked 'left' and which is marked 'right'. Use a pedal wrench to turn the left pedal to the left and the right pedal to the right to loosen them. The left pedal has backward threading, so it loosens differently than normal screws. Once they're loose, finish unscrewing them by hand. Keep the seat and pedals together to prevent losing them during the move.
Taking Apart the Frame and Base
The frame and base are the heaviest parts, so you need help with this step. Use a socket wrench to remove the bolts that connect the frame to the base. Store these bolts in a safe place, as you'll need them later. Carefully lift the frame off the base; it's heavy, so have someone assist you if needed. Unplug any cables between the frame and base by gently pulling them apart. Write down which cable goes where to make reassembling it easier. Check the base for any other parts that need to be removed, such as stabilizer bars or adjustable feet. Remove these parts and keep them with the other hardware.
Packing and Transporting Components
Proper packing protects your bike parts during the move and makes reassembly much easier. Follow these simple tips for safe transport:
- Wrap delicate components: Use bubble wrap or moving blankets to protect the screen, handlebars, and other breakable parts.
- Secure bolts and screws: Put all hardware in labeled bags and tape them to the parts they belong to
- Use proper boxes: Select sturdy boxes that fit each part snugly to prevent movement during transport.
- Label everything: Write what's inside each box and which part of the bike it belongs to
Consider professional help: If you're not comfortable doing this yourself, hire movers who specialize in fitness equipment.
Related Topics:


Share On: